
How Do I Frame Myself Or A Product In A DIY Video To Look Pro?
Key Takeaways
Establishing a professional look in DIY videos requires careful attention to framing, including the use of medium shots, clean backgrounds, and balanced composition to maintain viewer engagement and highlight the main subject effectively.
Lighting is the key to video quality. Utilize a mixture of natural and artificial lighting from the right angles, and play with reflectors to reduce shadows and accentuate important details.
When framing yourself or a product in a DIY video, capture everything at eye level and use the rule of thirds for an appealing layout, whether you’re paying attention to people’s expressions or highlighting product features with close-ups.
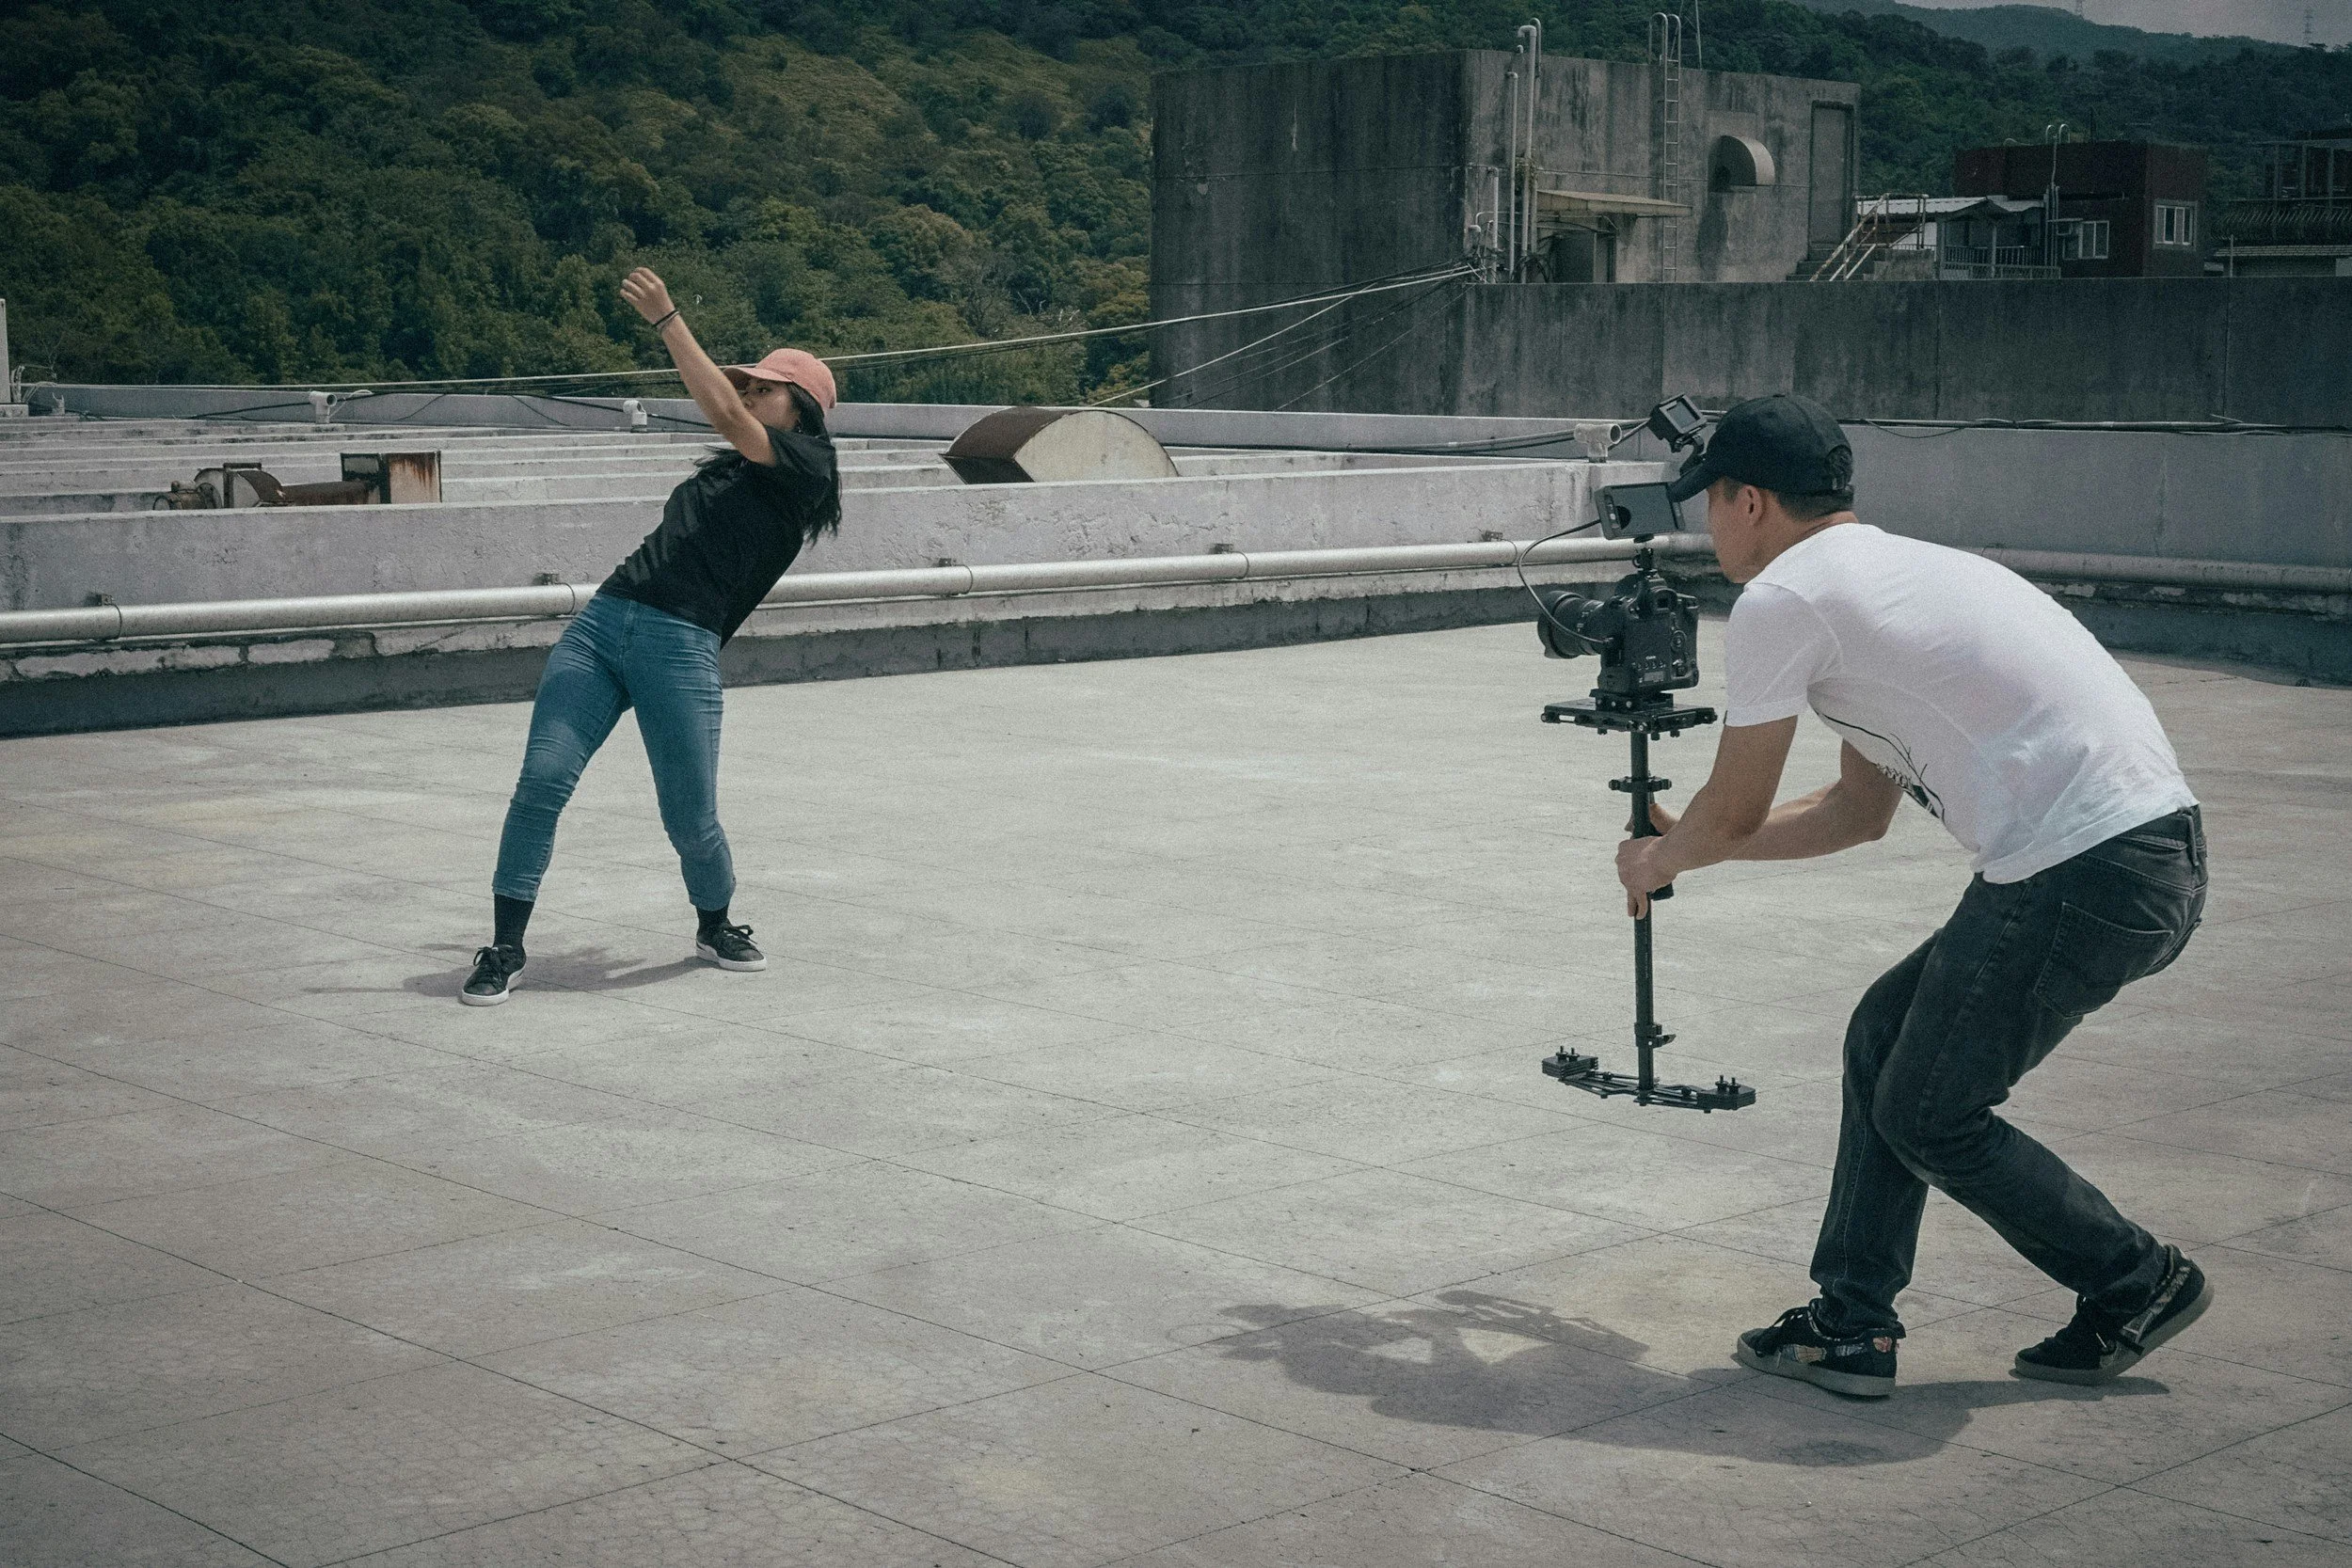
Camera stability and movement add professionalism. ALWAYS use a tripod, no shaky footage, slow pans or tilts to direct the viewer’s attention smoothly.
Sound quality plays a big role, so shoot in a quiet space,r effects judiciously to support the visuals, not to swamp the keep an eye on the audio levels prior to recording, and use music on.
Figure out your video’s motivation and story beforehand, think through your sequences of shots to compliment your story, and frame and heartstrings to make a relatable but compelling picture to people everywhere.
If you want to frame yourself, or a product in a DIY video to look pro, use good lighting, clean background and steady camera angles. At Peakbound Studio, we often remind creators that professional-looking videos don’t always require expensive gear, it’s about smart framing, lighting, and stability. Good light from the front, such as a window or soft lamp keeps shadows from your face or object. Your viewers need to see you clearly, a blank wall or nice, clean space will allow people to focus on you or the product. Put your camera at eye level, use a tripod or pile of books to keep your shot steady. Wearing solid colors and keeping clutter out of the shot adds to a clean feel. These little things add up to go a long way in making your video look pro. Next, get simple hacks for each step.
Master Your Professional Framing
Mastering your professional framing is about crafting crisp, compelling images that reinforce your point. It’s a mix of composition, lighting, and video editing tips that directs the viewer’s eye and establishes the tone. Every framing decision, from shot type to movement, influences the video content your audience experiences and observes. At Peakbound Studio, we see framing as one of the fastest ways to instantly elevate a DIY video’s perceived quality.
1. The Foundation
Prepare your filming area by positioning your lights 45 degrees from your face or product to enhance your video editing process. This softens shadows and reveals more detail, resulting in great video production quality. Employ a camera that shoots at a minimum of 1080p to capture pure, clean footage, as most smartphones today are capable of this standard. A nice, clean background without clutter keeps viewers focused on YOU or your product. Before you dive into video editing, calibrate your arrangement with a quick recording test to ensure you are in focus and the lighting is balanced.
2. The Subject
Put yourself or your product at eye level to create engaging video content that resonates naturally with viewers and establishes trust. Center the subject for straightforward assignments, but for greater visual appeal, abide by the rule of thirds. Position the subject at the intersection of the thirds lines, as this creates balance and interest in the shot. Good lighting is an essential editing tip that accents and avoids distraction.
3. The Angles
Experimenting with various perspectives is one of the essential video editing tips to see what captures your narrative most effectively. A high angle, looking down, can make a product appear tiny or fragile, while a low angle, looking up, conveys a sense of power. Avoid using extreme angles unless aiming for a dramatic effect, as they can warp the subject and affect the overall quality of your video content.
4. The Movement
To create engaging video content, add some subtle motion, like a slow pan or tilt, to keep it dynamic. This directs focus without bogging viewers down. No matter what, shoot with a tripod or on a stable surface, never hand-held. Planning your camera movement in advance ensures each shot has a fluid, professional video feel.
5. The Background
Choose a backdrop that enhances your video content and makes your subject pop. Avoid clutter that distracts from the material. Colored backdrops can shift the mood, blues for calm, reds for energy. Separating the subject from the background adds depth and maintains focus, a key point for great video production quality.
Illuminate Your Scene
Solid video composition is just half of it , the way you illuminate your scene is usually where the true amateur vs. pro divide occurs. Lighting is one of the most essential video editing tips that can define how your audience perceives your message both emotionally and in their capacity to observe details. For DIY video makers, good lighting can elevate an otherwise plain rig and provide a crisp, professional appearance in their video content.
Natural light is best for most people, especially for beginners in video editing. Daylight softens shadows, eliminating deep lines and casts, giving skin or products a delicate, uniform appearance. Light up your scene by placing your setup near windows, but avoid direct sun to prevent blowing out highlights or creating sharp, hard shadows. Thin white curtains or a sheet taped to the window can mellow sunlight and spread it wide. If you work at night or in a dim workspace, attempt to simulate that soft, even effect with available light sources.
When natural light is unavailable, using LED panels or desk lamps can help fill in the gaps. Employing two or three lights allows you to eliminate hard shadows and enhances your shot's overall quality. Position one key light at a 45-degree angle from your face or product, at eye height. This angle sculpts the face and provides a sense of depth on two-dimensional surfaces, a crucial aspect in the video editing process. Illuminate your scene with a second, dimmer lamp on the other side to fill shadows. Adding a soft light behind your subject can also create a pop effect, which applies to both individuals and objects.
Reflectors are easy to use but can add a huge pop to the image. A white board, white paper, or a commercial reflector will reflect light back onto your subject. Position it opposite your key light, just outside the frame, to fill shadows, preventing faces or glosses from appearing flat or with deep, dark spots. For a warm feel, gold or cream-colored boards are nice, while blue or silver surfaces can create a cool scene. Little swaps like these can transform the mood and make each shot pop, enhancing your video editing quality significantly.
Frame People Vs. Products
The framing in your DIY videos significantly impacts how your audience engages with your video content. Your approach varies when featuring people versus products, making it essential for video makers to utilize effective video editing tips.
Aspect: People
Main Focus: Expressions, body language
Camera Angle: Eye-level, slightly above
Lighting: Soft, even for skin tones
Shot Type: Medium close-up, head-and-shoulders
Movement: Natural gestures, slight motion
Aspect: Products
Main Focus: Features, details
Camera Angle: Varies: top-down, side, close-up
Lighting: Hard or soft, avoids glare
Shot Type: Close-up, macro, lifestyle
Movement: Static or slow pan/tilt
For People
A medium close-up, framing from the chest up, pulls the viewer in closer to the subject and helps display emotion. This perspective works well for tutorials and talking-head segments, allowing you to establish credibility and maintain engagement.
Framing the subject’s eyes on the upper rule of the third line makes the shot look natural. This rule holds true for the majority of cultures and makes for visually appealing images.
Camera shake should yank viewers from the moment. Take steady shots with a tripod or stable surface. If you must move, go for slow, deliberate movements.
Promote casual arm movements and regular walking. Small head nods, open hand gestures or a smile help the presenter come across as more human. Don’t move stiffly or like a robot.
For Products
Technique: Macro/Close-up Shot
Purpose: Show texture or detail
Example: Zipper, button, screen clarity
Technique: Neutral Background
Purpose: Prevents distraction
Example: Plain table, soft cloth
Technique: Lifestyle Demo
Purpose: Shows use in real life
Example: Pouring coffee, using a phone
Technique: Lighting Setup
Purpose: Avoids glare, shows true color
Example: Softbox, ring light
Close-ups of the product’s best bits, the sleek finish of a device or fine fabric stitching. Use slow pans to give viewers a chance to see all the details.
Lifestyle shots give context. Put a mug in someone’s hand or a drill in action. It assists the reader in imagining the item in their own universe.
Good lighting is essential to capture true color and prevent severe shadows. Soft, diffuse light is best in most cases. Change angles to keep reflections off glossy pages.
Elevate With Sound
High quality audio is essential for creating great video content, as it elevates a DIY video to a professional level that audiences immediately recognize. Jittery sound can make viewers click elsewhere, even if your video editing is visually stunning. Crisp audio not only grabs your audience's attention but also contributes to the overall professional video production quality by establishing atmosphere and maintaining momentum throughout the editing timeline.
Use a quality microphone. The internal mic on the majority of smartphones or cameras captures too much ambient noise. Upgrade to a clip-on (lavalier) mic or mini shotgun. This kind of gear is simple to configure and provides significantly improved sound. Put the mic close to your mouth if you’re talking, or the main source of sound if you’re demoing a product. Don’t put too much distance on it. Even a cheap external mic is a huge improvement.
Choose a silent environment to record. Ambient noise, traffic, fans, people talking, can ruin the sound. Cushions and rugs and things, they help soak up echo. If you have to shoot in a loud location, consider doing voice-over later in a quiet room and syncing it during the edit.
Be careful with background music. Music can add life to your video, affect the mood, and cover cuts. Select tunes that compliment your video's tone and turn it down so they can hear you! Royalty free music is super easy to find. Fade music in and out between scenes for graceful flow. If you’re speaking, don’t use music with lyrics, it distracts viewers.
Add sound effects for punch, but be economical. Click, swoosh, or pop effects, for example, can animate transitions or actions. Use them only when they enhance, too many can detract from your message and clutter the video.
Make all sounds level in post. Listen to your video with fresh ears. Be sure your voice is clear, music not too loud and effects don’t jump out. Put on captions or subtitles so even more people can appreciate your work, and make sure all the sounds blend.
Avoid Common Mistakes
Framing yourself or a product in a DIY video to look professional isn’t just about the camera you use, it’s about avoiding small but common mistakes that can undermine the quality of your video content. Below are some of the most frequent pitfalls that can impact the production quality of your footage:
Not planning your video before filming
Ignoring basic framing rules
Using poor or mixed lighting
Neglecting audio checks
Overcomplicating edits and using too many effects
Forgetting a strong opening to catch viewers
Video that is either too long or too short for its objective
Not recording separate tracks for each person
A good framing works wonders for video editing. When you film, hold the camera at eye level and use the rule of thirds, imagine the screen divided into thirds both ways and position interesting points along those lines. This technique keeps the shot balanced and assists viewers in concentrating on what counts. Don’t let the framing be stilted, set up the camera as if you’re chatting with someone. For product shots, feature the product front and center, with ample space around it to avoid a crowded appearance. Employ shape-revealing and detail-revealing angles, but avoid excessive camera motion.
Light is the number one issue! Bad lighting, direct sun or hard shadows, can make video look grainy, or blur faces and details. Utilize soft, even light and never mix light color temperatures. Position your key light in front of you/the product. If you don’t have pro lights, even a lamp with a soft white bulb will work, just avoid backlighting that hides faces.
Audio also needs to be verified before starting. If multiple voices are involved, capture each voice/video separately. This aids in picking up incidental noises and allows you to adjust levels in the editing timeline. Poor audio will repel viewers even if your picture is crisp. Test with headphones, and always ensure voices sound clear, without hums or echoes.

The Director's Intent
A director’s intent guides everything in a DIY video, from how you frame yourself/your product to how you hold your audience. Understanding what you want viewers to feel and learn provides you with a roadmap for every shot and edit, especially when utilizing effective video editing tips. Each decision, camera angle, lighting, background, ought to reinforce that purpose, enhancing the overall video content. A strong mission allows you to schedule every second so nothing appears haphazard or unordered. The rule of thirds helps you position the subject, which makes it pop and adds a professional feel to the video. Good directors use light and sound effects to support their intent, ensuring everything looks and sounds as it should.
Visual Story
Constructing a visual narrative involves selecting images that effectively carry your narrative. Every shot must complement your central concept, and employing video editing tips like mixing angles keeps the video fresh. For instance, alternate between a tight close-up and a wide shot to capture both detail and context. If featuring a product, begin with it centered, then switch to a side angle to demonstrate its functionality. Directing attention with visuals, such as your hand or the product moving, provides viewers with obvious direction on where to look next.
Varying perspectives, shooting from above or at eye level, adds a compelling story arc. Cut between shots by rotating the camera at a minimum of 45 degrees, ensuring that the continuity feels fluid rather than jarring. To enhance video production quality, employ soft, natural light by shooting in the morning or evening, creating an even and welcoming appearance. A solid background with a well-lit subject eliminates distractions and enhances the overall aesthetic.
Focus on composition by applying the rule of thirds to balance your shots. Position yourself or the product along these lines or at their intersections to catch the eye, making everything seem neat and ordered. Ensure your voice is loud while minimizing background noise for a clear audio experience.
Emotional Connection
Be genuine and be sincere. This makes viewers trust you and want to follow your advice. Frame your face or hands up close when you react, so emotions are simple to decipher.
Employ angles that make pivotal moments pound even more. For instance, a close up on your face when you crack a gnarly step or a zoom on the product when it delivers. Humanize every scene using contexts your audience recognizes, such as repairing a pain or experimenting with a new weapon.
Promote real talk and hanging out. Let the laughter, bloopers, or slapdash fixes remain on screen! These candid moments establish a more profound connection with your viewers.
Final Remarks
To lock down that pro look in your DIY video, frame your shot thoughtfully. Position your camera at eye level for folks, provide a direct line for your product. Stand or sit with a straight back, keep your equipment rock solid. Utilizing soft, even light, window light or a ring light work wonders. Clear sound makes your point land. Eliminate background noise. Pick a clean background. Feature your handiwork and your instruments of creation with detail shots. Be smart, scout your shot prior to recording and correct minor issues quickly.
For more tips, or if you’d like Peakbound Studio to bring professional polish to your next project, reach out to our team. Sometimes all it takes is a new set of eyes and expert framing to transform your DIY video into something that truly looks and feels professional.

Frequently Asked Questions
1. How Do I Frame Myself In A DIY Video To Look Professional?
Position yourself in the center (or slightly off-center using the rule of thirds) to create engaging video content. Keep your eyes roughly 1/3 down from the top of the frame and use a clean and simple backdrop for polished professional videos.
2. What Is The Best Lighting For DIY Videos?
Illuminate yourself or your product with soft, even lighting from the front or slightly to one side. Natural daylight is best, but soft LED lights work great for video editing. Say no to harsh shadows and backlighting for a crisp, professional video outcome.
3. How Should I Frame A Product In My Video?
Frame the product squarely in the middle or go with close-ups to enhance the video editing process. Ensure the product is well-lit, utilizing light sources effectively, and fill most of the frame for great video content.
4. What Are Common Framing Mistakes In DIY Videos?
Typical errors in video editing include bad lighting, messy backgrounds, and too much dead space. Additionally, positioning you or your product too close or too far from the camera can affect the quality recordings. Always check your frame before shooting to dodge these common problems.
5. How Can I Make Both People And Products Look Good In The Same Video?
Frame it accordingly to enhance your video editing process. Employ wider shots for people and close-ups for products, ensuring bright and engaging video content.