
How Do I Add Captions And Branding To My Self-Shot Video?
Key Takeaways
Captioning your self-shot videos makes them accessible to everyone, including people with hearing difficulties and non-native speakers, and helps them understand your content better.
With captions, you increase viewer engagement and retention by emphasizing important facts, accommodating various languages, and imprinting your brand’s distinct voice on every video.
Not only do precise, timely captions make your video more accessible, they make it far more searchable, expanding your reach to worldwide audiences as well as search engines.
Professional branding elements, including consistent logos, color palettes, and legible fonts, add an air of professionalism to your videos and reinforce your brand’s identity across channels.
Using dependable captioning and branding utilities, and taking the time to manually align captions with audio, results in a professional product that measures up to global usability and branding standards.
Don’t make these amateur mistakes, make caption accuracy your top priority, use branding sparingly and test your videos on multiple devices.
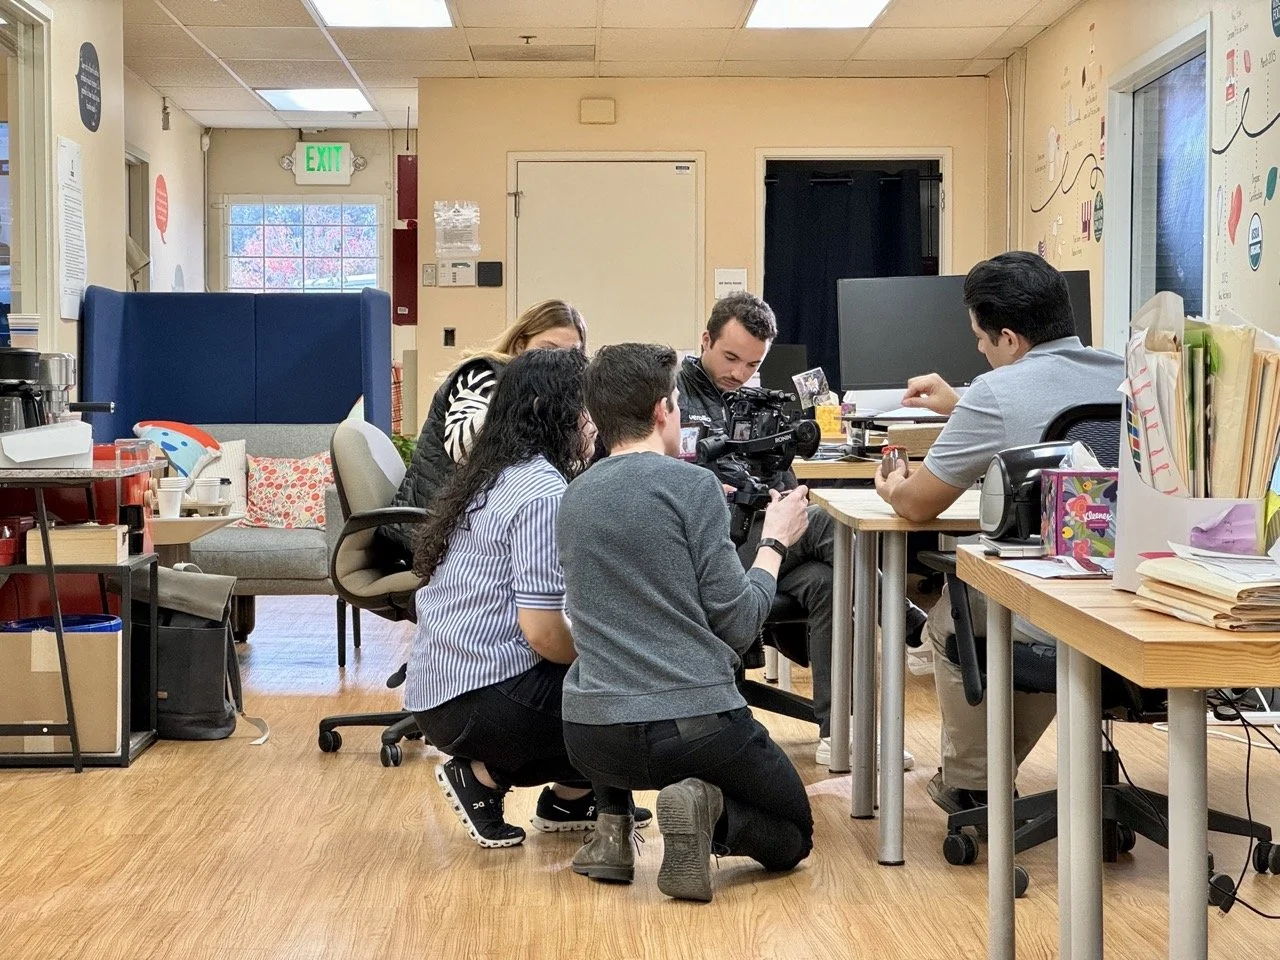
To add captions and branding to your self-shot video, use video editing tools that let you place text, captions, and logo graphics right on your footage. Most popular apps, such as Adobe Premiere Pro or DaVinci Resolve, make this easy with drag-and-drop interfaces and pre-made templates. Captions assist folks in tracking your message and make your content more discoverable on the web. Branding, such as a little logo or color theme, can assist visitors in identifying your content around the various sites. For those looking for a quick solution, mobile apps like CapCut or InShot do this in just a few taps. In the main tables below, steps and pointers for squeaky-clean, shiny results with easy stuff will be tossed about.
Why Bother With Both?
Adding subtitles and branding to self-shot videos isn’t merely a stylistic choice, it’s about accessibility, influence, and audience engagement. The captions feature enhances the usability of your video content for people worldwide, while branding helps to distinguish your work. There are two forms of captions: open (always visible) and closed (which users can toggle). Each plays a significant role, catering to diverse audiences and applications. Some viewers require captions consistently, while others appreciate having the option. For global consumers and varying needs, both formats are essential, with laws like the Rehabilitation Act mandating this access.
Increased Watch Time
Viewers stay longer, even in noisy or silent settings.Improved Discoverability
Search engines index caption text, making videos easier to find.Elevated Brand Image
Well-made captions add polish and signal care for all audiences.
Accessibility
Not everyone is able to listen, which is why adding subtitles or captions feature is essential. Captions allow deaf or hard of hearing viewers to follow your message, and they help non-native speakers, too. In noisy environments, airports, buses, offices, captioned video content ensures that users can savor your content anywhere, on any device. Since certain platforms may not support closed captions, open captions become a fallback option.
Boost Video Engagement
Captions increase concentration and enhance video content engagement. When you bullet key points, people follow along, even if they skim a word or two. By adding subtitles in multiple languages, you attract more viewers. Tuning the tone of your captions, light, serious, playful, to your brand helps build a connection with your followers, making the captioning process feel more immediate and significant.
Discoverability
Search engines utilize text to locate videos, making the captioning process essential. Properly adding subtitles and captions generates transcripts that are search-friendly, helping your video rank higher in searches. Offering subtitles in multiple languages enables more people to discover and share your video, enhancing its reach on social media platforms.
Professionalism
Polished captions, especially when using a captioning tool, demonstrate that you’re a quality-minded detail person. They coordinate with your brand style like font, color, placement. With the right caption tools, you keep your captions crisp and accurate. Consistent use of video captions sends a signal: your brand is thoughtful and reliable. By providing accurate captions, you demonstrate that you respect all of your viewers, which helps to establish trust.
How To Add Captions
To Your Self-Shot Video: A Step-By-Step Guide To Boosting Accessibility, Audience Reach And Professionalism. Correct captions, whether through automatic captions or manual captions, assist deaf or hard-of-hearing viewers, support multiple languages, and increase searchability. To achieve this, you can utilize captioning tools to ensure your video content is accessible, whether through hardcoded subtitles or uploaded caption files like SRT or VTT.
Record the video with high-quality audio.
Pick the captioning method (AI, manual, mixed).
Transcribe or generate captions.
Sync the captions to match the audio.
Style captions for clarity and consistency.
Export captions in the correct format.
Double-check and review before publishing.
1. Choose Your Method
When deciding how to add captions to your video content, consider its length and complexity. Tools like YouTube’s automatic captions or cloud-based AI transcription can save time, but you will still need to edit for accuracy, especially if your vocabulary is complex or technical. While manual captioning offers more control, it can be slow for longer videos. Many find that a good caption strategy involves mixing both methods, using AI to draft and then fine-tuning with manual edits. Experiment with various captioning tools like Kapwing, Amara, or Aegisub to discover which ones best suit your workflow and provide the features you need.
2. Transcribe Your Audio
Transcription software can help make the captioning process faster, but always double check the output against your audio. Tools such as Otter.ai or Google’s Speech-to-Text will auto-generate captions, but you want to have a human review them to fix names, jargon, or unclear phrases. Export your transcript in a text file that can then be converted into caption files. This file provides the foundation for your additional editing and timing for quality video creation.
3. Synchronize The Timing
Sync captions by aligning each line to the appropriate time in your video content. Utilize timecodes to ensure that the automatic captions display when dialogue starts and stops. Preview the video playback to catch any lag. Dedicated captioning tools, such as Subtitle Edit, simplify shifting timings and accommodating changes in your video’s flow.
4. Style For Readability
Make captions reader-friendly by choosing clean fonts and sizes using a captioning tool. Stick with high-contrast colors, white text on a dark background is typical. Just be consistent with your caption style throughout the video for a polished, professional result. Experiment with different placements (top or bottom of the screen) to avoid covering faces or graphics.
5. Export Your File
Store your caption files in the formats your platform requires, typically SRT or VTT, to ensure quality video creation. Export formatting errors can disrupt playback, so preview the video with captions before uploading to verify everything functions correctly. Keep your captioning tools handy for future updates or to translate captions later.
How To Add Branding
The importance of adding branding to your self-shot video to create recognition and trust while making your work stand out cannot be overstated. Well-done branding can significantly spike engagement and remain memorable in viewers’ minds, only when executed thoughtfully. Start by creating a checklist to cover the basics: logo placement, color palette, font choice, overlays, intro/outro screens, and platform fit. This approach ensures you don’t overlook important pieces and maintains your brand’s look consistent and professional. Consider your audience’s preferences and ideals, aligning your design decisions with their expectations from a brand like yours. You can choose to use a captioning tool or go manual, it depends on your comfort level and the scale of your project. Add branding at any stage: during filming with branded backgrounds, in editing with graphics, or post-production with overlays or annotations.
Logos
Always situate your logo where it contributes to the video content, rather than dominates it. Typical locations for logo placement are the bottom-right or top-left corners, as these positions don’t distract viewers but maintain logo exposure. For quality video creation, your logo ought to appear sharp and identifiable even at minuscule size. Be sure to always have a transparent PNG so the background meshes well and your logo doesn’t block important content beneath it. To enhance your video’s accessibility features, watermark your video with a transparent logo overlay, especially on insecure platforms where content is easily swiped.
Video Colors
Choose a palette of two to four colors that suit your brand, complementing your video’s tone and subject matter. For captioned video content, use the same set across all your videos for a consistent appearance that enhances branding. When adding subtitles or on-screen text, opt for colors that pop from the video background, white or yellow text with a dark outline is a tried and true combo. Trial color combinations across multiple screens to ensure they’re legible and not aggressive to the eye.
Business Video Fonts
When creating captioned video content, it's essential to pick fonts that are easy to read, whether on a phone or big screen. Match the font to your brand’s personality, a tech brand might use a modern sans-serif font, whereas a creative brand might opt for something handwritten or playful. Stick to one or two fonts to stay tidy. Font size also matters, it needs to be large enough for mobile screens but not so big that it dominates the frame. Experiment with a few and request comments to see what resonates with your audience!
Overlays
Overlays allow you to include additional information, such as your website, social handles, or calls to action, without cluttering the video content. Use them minimally and ensure they don’t obscure faces or important imagery. Experiment with various levels of opacity until the overlay is apparent but inobtrusive. Make important statements pop with bold overlays that demand attention for a moment, enhancing the accessibility features for viewers to recall what’s most important.
The Psychology Of Branding
Branding is more than a logo or color scheme, it influences how your audience experiences your videos and remembers you. Powerful branding operates psychologically, employing cues such as colors, icons, and voice to establish trust and affinity. This is especially important in video content, where adding subtitles or using a captioning tool can enhance accessibility and engagement, making you memorable and attracting the right audience.
Color psychology and pattern recognition craft first impressions and steer viewer feelings.
In-groups and belonging breed loyalty and community.
Five brand personalities (sincerity, excitement, competence, sophistication, ruggedness) assist in engaging various audience types.
Consistency in branding builds familiarity and trust.
WOM builds trust and moves product, even from total strangers.
Branding is ongoing, not a one-time task.
Building Trust
Trust is created every time viewers witness consistent, professional branding in each video. A good captions option, whether that’s colors, logos, or taglines, demonstrates that you respect what you do! This type of consistency invites viewers back, because they know what to expect. Additionally, captioned video content enhances viewer engagement, making your videos more accessible to a wider audience.
Brand values emerge both in your verbal and visual communication. For instance, a health channel could opt for peaceful blues and crisp fonts to convey trust and nurturing. Everything, from intro music to on-screen text, should be consistent with your message, including the use of automatic captions to ensure inclusivity.
Open, honest engagement counts. Responding to comments and providing behind the scenes glimpses aid demonstrate that you’re authentic and approachable. That’s what makes the brand human, not a logo.
Testimonials and real stories do great. Displaying testimonials or case studies, perhaps a brief snippet from a satisfied client, allows fresh visitors to witness you provide tangible outcomes, especially when combined with effective captioning tools to highlight key points.
Creating Recall
Brand recall increases when your videos employ the same images and audio. Your own distinctive logo that jumps up in each clip, or a short jingle, makes your content sticky.
Catchy phrases can get stuck in people’s heads. If you always finish with a signature line, viewers begin to associate it with your brand. Echo these messages throughout, not just at the beginning or ending.
Visual cues are helpful. For instance, a tech channel might always use bold reds or geometric shapes, so viewers associate those with your content.
Chatter about your brand’s values or reciting your mission statement solidifies memory. Brief, recurring reminders beat a royal flush mention any day.
Setting Tone
Make your branding suit the tone of your content. A fun, upbeat series requires bright colors and bold fonts. More somber subjects may incorporate muted palettes and minimalistic designs.
Every color or style decision evokes emotions. Yellow seems amiable, blue implies reliability. Typefaces are important as well, rounded ones feel casual, sharp ones feel formal.
Your branding and content need to act in concert. If your post is calm advice, crazed graphics will jar and baffle readers. Check how your decisions align your message.
It can take testing to discover the proper tone. Experiment with a few styles, then find out what fires up your audience the most. Use their input to tweak.

Choosing The Right Tools
Choosing the right captioning tools for clarity and impact in self-shot videos is essential. The options for transcription and captioning can be categorized into three main groups: manual typing, human transcription services, and automated systems. While manual typing is slow, it offers complete control, making it excellent for those who want to craft every word precisely. Human transcription services tend to provide the most accuracy, which is vital for professional work or when dealing with multiple speakers or heavy accents. On the other hand, automated tools are rapid and inexpensive, excelling with clear speech and quality audio. They may occasionally drop words or punctuation, necessitating some editing in the captioning process.
User-friendliness is crucial when selecting software. For beginners, Kapwing or Veed.io are standout options. Both platforms feature drag-and-drop interfaces and allow users to add captions with just a few clicks. They also provide pre-made branding templates, making it easy to insert your logo or brand-specific colors. For those requiring more control, Adobe Premiere Pro and Final Cut Pro offer deep editing options, although their learning curves can be steeper. These tools allow you to import caption files, customize fonts, and adjust placement, which is important for creating engaging captioned video content.
Testing a variety of tools is wise, as your needs will vary. Some users prefer to utilize their own caption files, while others rely on automatic tools. The best choice typically depends on your desired level of editing and branding. If you favor speed and don’t mind a few edits, automated tools are a good option. If you require top accuracy and have the budget, human services are superior. Ensuring that brand elements, from logos to color schemes, are simple to insert and customize for each project is also critical.
Below is a table comparing common caption and branding tools.
Kapwing
Features: Auto-caption, branding, export
Pros: Easy to use, quick editing
Cons: Limited advanced featuresVeed.io
Features: Auto-caption, logo, templates
Pros: Simple interface, useful templates
Cons: Watermark on free versionAdobe Premiere Pro
Features: Custom captions, branding, export
Pros: Powerful tools and pro-level control
Cons: Steep learning curveFinal Cut Pro
Features: Caption import, font control
Pros: Deep editing capabilities, very flexible
Cons: Mac only, complex for beginnersRev (human)
Features: Human transcription, SRT export
Pros: Very high accuracy and reliability
Cons: Expensive for long videosOtter.ai
Features: Automated captions, SRT export
Pros: Fast, simple, cross-platform
Cons: Lower accuracy compared to human transcription
Common Pitfalls To Avoid
Plopping captions and branding on a self-shot video requires careful planning and consideration. Not planning is a recipe for muddled messages and limp outcomes. To write lucid copy, heed these common mistakes in the captioning process.
The first error is forgetting why you’re making your video. If your video doesn’t have a defined objective, your captions and branding come across as arbitrary or contrived. Before you shoot, question what you want to say and to whom. For example, a product demo needs to emphasize advantages in an uncomplicated way, with captions that provide additional explanation, not confusion. Utilizing a caption generator can help streamline this process.
Caption correctness is key. Caption errors, such as misspelled words or incorrect translations, can befuddle or provoke audiences. Captions aren’t just for the deaf, they assist everyone in consuming your content, particularly when in loud environments or viewing silently. Precise captions help videos reach a more inclusive and accessible audience, increasing engagement. For instance, studies reveal that captioned video content can increase ad recall by 8%. ALWAYS go back and check your captions for mistakes, and employ reliable tools to test them on phones, tablets, and computers to make sure they look right everywhere.
Branding shouldn’t get in the way of your message. Jamming your websites full of logos or slogans or brand colors can distract people. A discreet logo in the corner or a quick intro slide will do. Maintain a consistent style such as same fonts, colors and logo placement on all your videos. This consistency breeds trust and makes your videos easy to identify in an overcrowded feed.
Another common problem is information overload. Cramming too much text or too many images into a single video can bombard viewers. Divide long discussions into short excerpts. For instance, rather than one long tutorial, create a sequence of briefer videos, each covering a single subject. This is especially effective for social media videos.
Disregarding different platforms’ needs is hazardous. Social videos generally perform best when short, less than 2 minutes, and formatted for the mobile screen. Try your captions out on different platforms and devices to snag any glitches. Always check that your captions are readable and don’t cover important areas of the image.
Budget and planning errors can suck resources dry. Invest in fundamentals like lighting and sound, not just showy effects. Batch-shooting and recycling footage make your workflow leaner and meaner.
Final Remarks
Adding captions and branding to your self-shot video begins with clear steps and good tools. Choose a caption tool that matches your proficiency. Use plain language. For branding, utilize your logo or colors in a ‘safe’ spot that doesn’t block the story. A quick intro or outro makes people immediately recognize it’s you. Verify the sound, appearance, and timing prior to publishing. Great captions assist your audience to keep up and clever branding fosters credibility and keeps your content top of mind. Experiment with new formats, find what resonates with your audience, and keep improving every time. Share your edits or tips with the group, help each other thrive.
When your DIY setup hits its limits, Peakbound Studio is here to step in. Our team helps businesses polish captions, align branding seamlessly, and produce professional-quality videos that connect with audiences on every platform.

Frequently Asked Questions
1. Why Should I Add Captions To My Self-Shot Video?
Captions make your video accessible to a broader audience, including those with hearing impairments. This captioning tool assists viewers in comprehending your video in loud spaces or when muted.
2. What Are The Benefits Of Branding My Video?
Branding your video fosters trust and awareness, especially when you add captions to enhance accessibility. Not only does it help viewers remember you, but it ties your video content to your brand’s identity, making you look more professional.
3. Which Tools Can I Use To Add Captions Easily?
You can use more general tools like Kapwing, Veed.io, or Adobe Premiere Pro, which offer a captioning tool that provides automatic captions for quickness and correctness.
4. How Do I Add My Logo To A Self-Shot Video?
Most video editing tools will let you upload your logo and position it on the video, enhancing your video content. Just upload your logo file and place it in a non-disruptive corner or anywhere else you like.
5. Can Captions Improve My Video’s Search Ranking?
Yes, adding subtitles can boost discoverability. Search engines can index text from captions, making your video content even easier to locate in search.
Ready To Take Your Videos Beyond DIY?
If you’ve reached the point where DIY videos aren’t enough, you don’t have to figure it out alone. At Peakbound Studio, we specialize in creating professional, documentary-style videos that feel authentic while elevating your brand. From concept to final cut, our team takes care of the details so you can focus on running your business instead of worrying about lighting setups, editing timelines, or awkward reshoots.
Your story deserves more than a quick fix or cookie-cutter approach. With years of experience helping businesses communicate clearly and build trust, we know how to craft videos that connect with the right audience and drive real results. If you’re ready to move beyond DIY and invest in video that truly represents your brand, check out our services today and see how we can bring your vision to life.