
Can DIY Videos Still Look Professional With The Right Planning?
Key Takeaways
Adopting a professional mindset and thorough planning can significantly elevate the quality of DIY videos, making them appear more polished and engaging.
Moving from a creator to a producer means taking a broader view of the production process, prioritizing vision, execution, and collaboration to achieve outstanding results.
Pre-production, defining your goals, your audience, creating a script and a storyboard, will make your results look professional.
Selecting the appropriate equipment, particularly for sound and lighting, and becoming comfortable with its use guarantees technical excellence and helps you avoid typical amateur production mistakes.
Production day with defined roles, thorough shot list and setup is how you keep efficiency and capture the essentials.
Acknowledging when something is beyond your ability or resources. Knowing when to bring in the pros ensures the end video will be top notch and fulfill your goals.

Proper lighting, crisp sound, and a steady camera all go a long way toward making videos appear professional, sharp and clean. Shot planning, scripting and selecting simple backgrounds reduce clutter and emphasize the main message. Even with minimal gear, utilizing free or inexpensive iPhone editing apps can make your videos look professional. Including captions and maintaining clear audio allows audiences to stay engaged. A lot of creators shoot on phones or laptops and still produce top-notch videos. Thoughtful planning and an emphasis on specific steps makes a DIY project appear adept and trustworthy. The key sub-headings below reveal simple tricks to plan and shoot DIY videos professional style.
The Professional Mindset
Embracing the pro mind-set in do-it-yourself video production isn’t just a matter of cranking up the gear. It demands a change in the way creators design, implement, and iterate on their work, which is essential for achieving quality video content and elevating it from lo-fi territory to professional video production results.
From Creator To Producer
Shifting from maker to manufacturer transforms your perspective on your output in video content production. A producer owns more than just filming or editing, they must think like a professional video production team, envisioning what they want the video to accomplish and breaking down everything that contributes to that outcome. This could mean sketching the format, script, and aesthetic ahead of time.
Professional producers collaborate with others to fill holes in their own expertise, even if that’s simply asking a friend to monitor lighting or audio. Communication is key, setting expectations and providing feedback prevent blunders that burn hours. For instance, a brief discussion with a teammate regarding camera angles or shot lists can save you hours in video editing.
Learning from industry standards accelerates your results in video production. Learn simple video production tips like three-point lighting or the importance of 4K-capable cameras. Even with a lean or solo operation, these abilities push your DIY videos towards quality videos that resemble professional video content.
Intentionality Over Spontaneity
A professional video begins well in advance of your record button. Every shot needs to be choreographed, consider in advance the angles, lighting and sound, so you’re not getting harsh shadows or muffled audio. Pros almost never work with just overhead light, they try different configurations to see what makes the subject look good and matches the scene.
Defining goals directs every step, from camera choice to post-production. If you want to teach a skill, each shot should reinforce crispness. Checklists, storyboards and rehearsals keep the shoot organized and avoid scramble at the last minute.
Review your footage after every shoot. If a snippet doesn’t fit your intended message, tweak and reshoot as necessary. This discipline distinguishes professional work from scattershot snippets.
The Audience-First Approach
Professionals create videos for their audience from the very beginning. They figure out who will watch, what those viewers need, and how to reach them best. This could be translating from jargon into plain language or adding captions.
Feedback is an instrument, not a yoke. Reviewing comments or analyzing analytics helps you polish future videos. If viewers tend to skip over a certain section, try to make it more brief or more visually engaging.
Audience-first content is about tackling actual issues or interests, which implies superior engagement and retention. Utilize viewer behavior data to adjust your strategy like timing, format, even on-screen graphics can all move to accommodate what works.
Your Pre-Production Blueprint
Professional-looking DIY videos begin with pre-production, planning before the camera is even rolling. Effective video marketing strategy involves planning everything ahead of time to control timing, resources, and expectations. A good system clears your mind and maintains group momentum, preventing that dreaded rookie video-look. Mapping out your goals, audience, and scripts while allocating resources and setting a clear timeline all define a sleek, professional video production process.
1. Define Your Goal
Write down what you want this video to accomplish. Is it educating, demonstrating, or storytelling? Define a single, lucid, mission-clarifying objective. For instance, a tutorial needs to guide viewers to complete one easy activity, like replacing a bike tire or brewing cold brew coffee.
Make sure your video objective aligns with your bigger picture plan. If you’re a business, does this convey something that reinforces your brand or funnel? People could be looking to cultivate subscribers or establish credibility. Choose a metric, views, shares, watch time, to see if you reached that number. Keep your objective in mind for your team, in a collaborative doc or sticky note, so they know what to prioritize.
2. Know Your Audience
Know who would watch your video. Learn their age, location, interests. If your audience is twentysomethings, keep it snappy and stylish. For hobbyists, employ slower steps and in-depth closeups.
Establish a basic profile of your average audience member, what issues would they like addressed? Take these profiles and let them help mold what you say and show. Adapt your tone and style to their needs. Request feedback in comments or a quick online poll to see if you’re on track.
3. Craft The Script
Write down all the words you’re going to say. Make sentences short and trim anything that doesn’t serve your purpose. Grab viewers with a beginning, middle and end to keep them watching. A how-to script can open with a pain, illustrate each step and then recap at the conclusion.
Run your script by a friend or team, and patch anything ambiguous. When shooting, refer back to your script as a check list so you stay on target.
4. Visualize The Storyboard
Storyboard each scene, even if they are stick figures. Storyboard or slide plan every shot. Indicate where the camera travels and how you’ll transition from step to step.
Consider close-ups, wide shots, and background. Pictures can clarify directions, such as depicting a hand twisting a screw. Distribute the storyboard so all are aware of what is coming.
5. Scout The Location
Scout locations where you could shoot. Search for nice light, little noise, sufficient room for you and your equipment. If your home/office works, try to test it at different times of day.
If filming outdoors or in a public place, see if you require a permit. Have a contingency space in case weather or noise destroys your plan. Jot down what each location requires, power, silence, or room to roam.
Smart Equipment Choices
Professional DIY videos are built around smart equipment choices that align with both your artistic vision and practical requirements, enhancing the overall video production process. Even on a dime, these choices can lead to quality videos that make your work stand out.
Camera (DSLR, mirrorless, or high-end smartphone)
Lenses (prime, zoom, wide-angle, macro)
Tripod or stabilizer (fluid head tripod, camera slider, Steadicam)
Audio recorder (external microphone, shotgun mic, lavalier mic)
Lighting source (LED panels, ring lights, softboxes, portable reflectors)
External video recorder and monitor
Batteries (spares for uninterrupted shoots)
Follow focus device
Soundproofing materials (foam panels, blankets)
Editing software and accessories
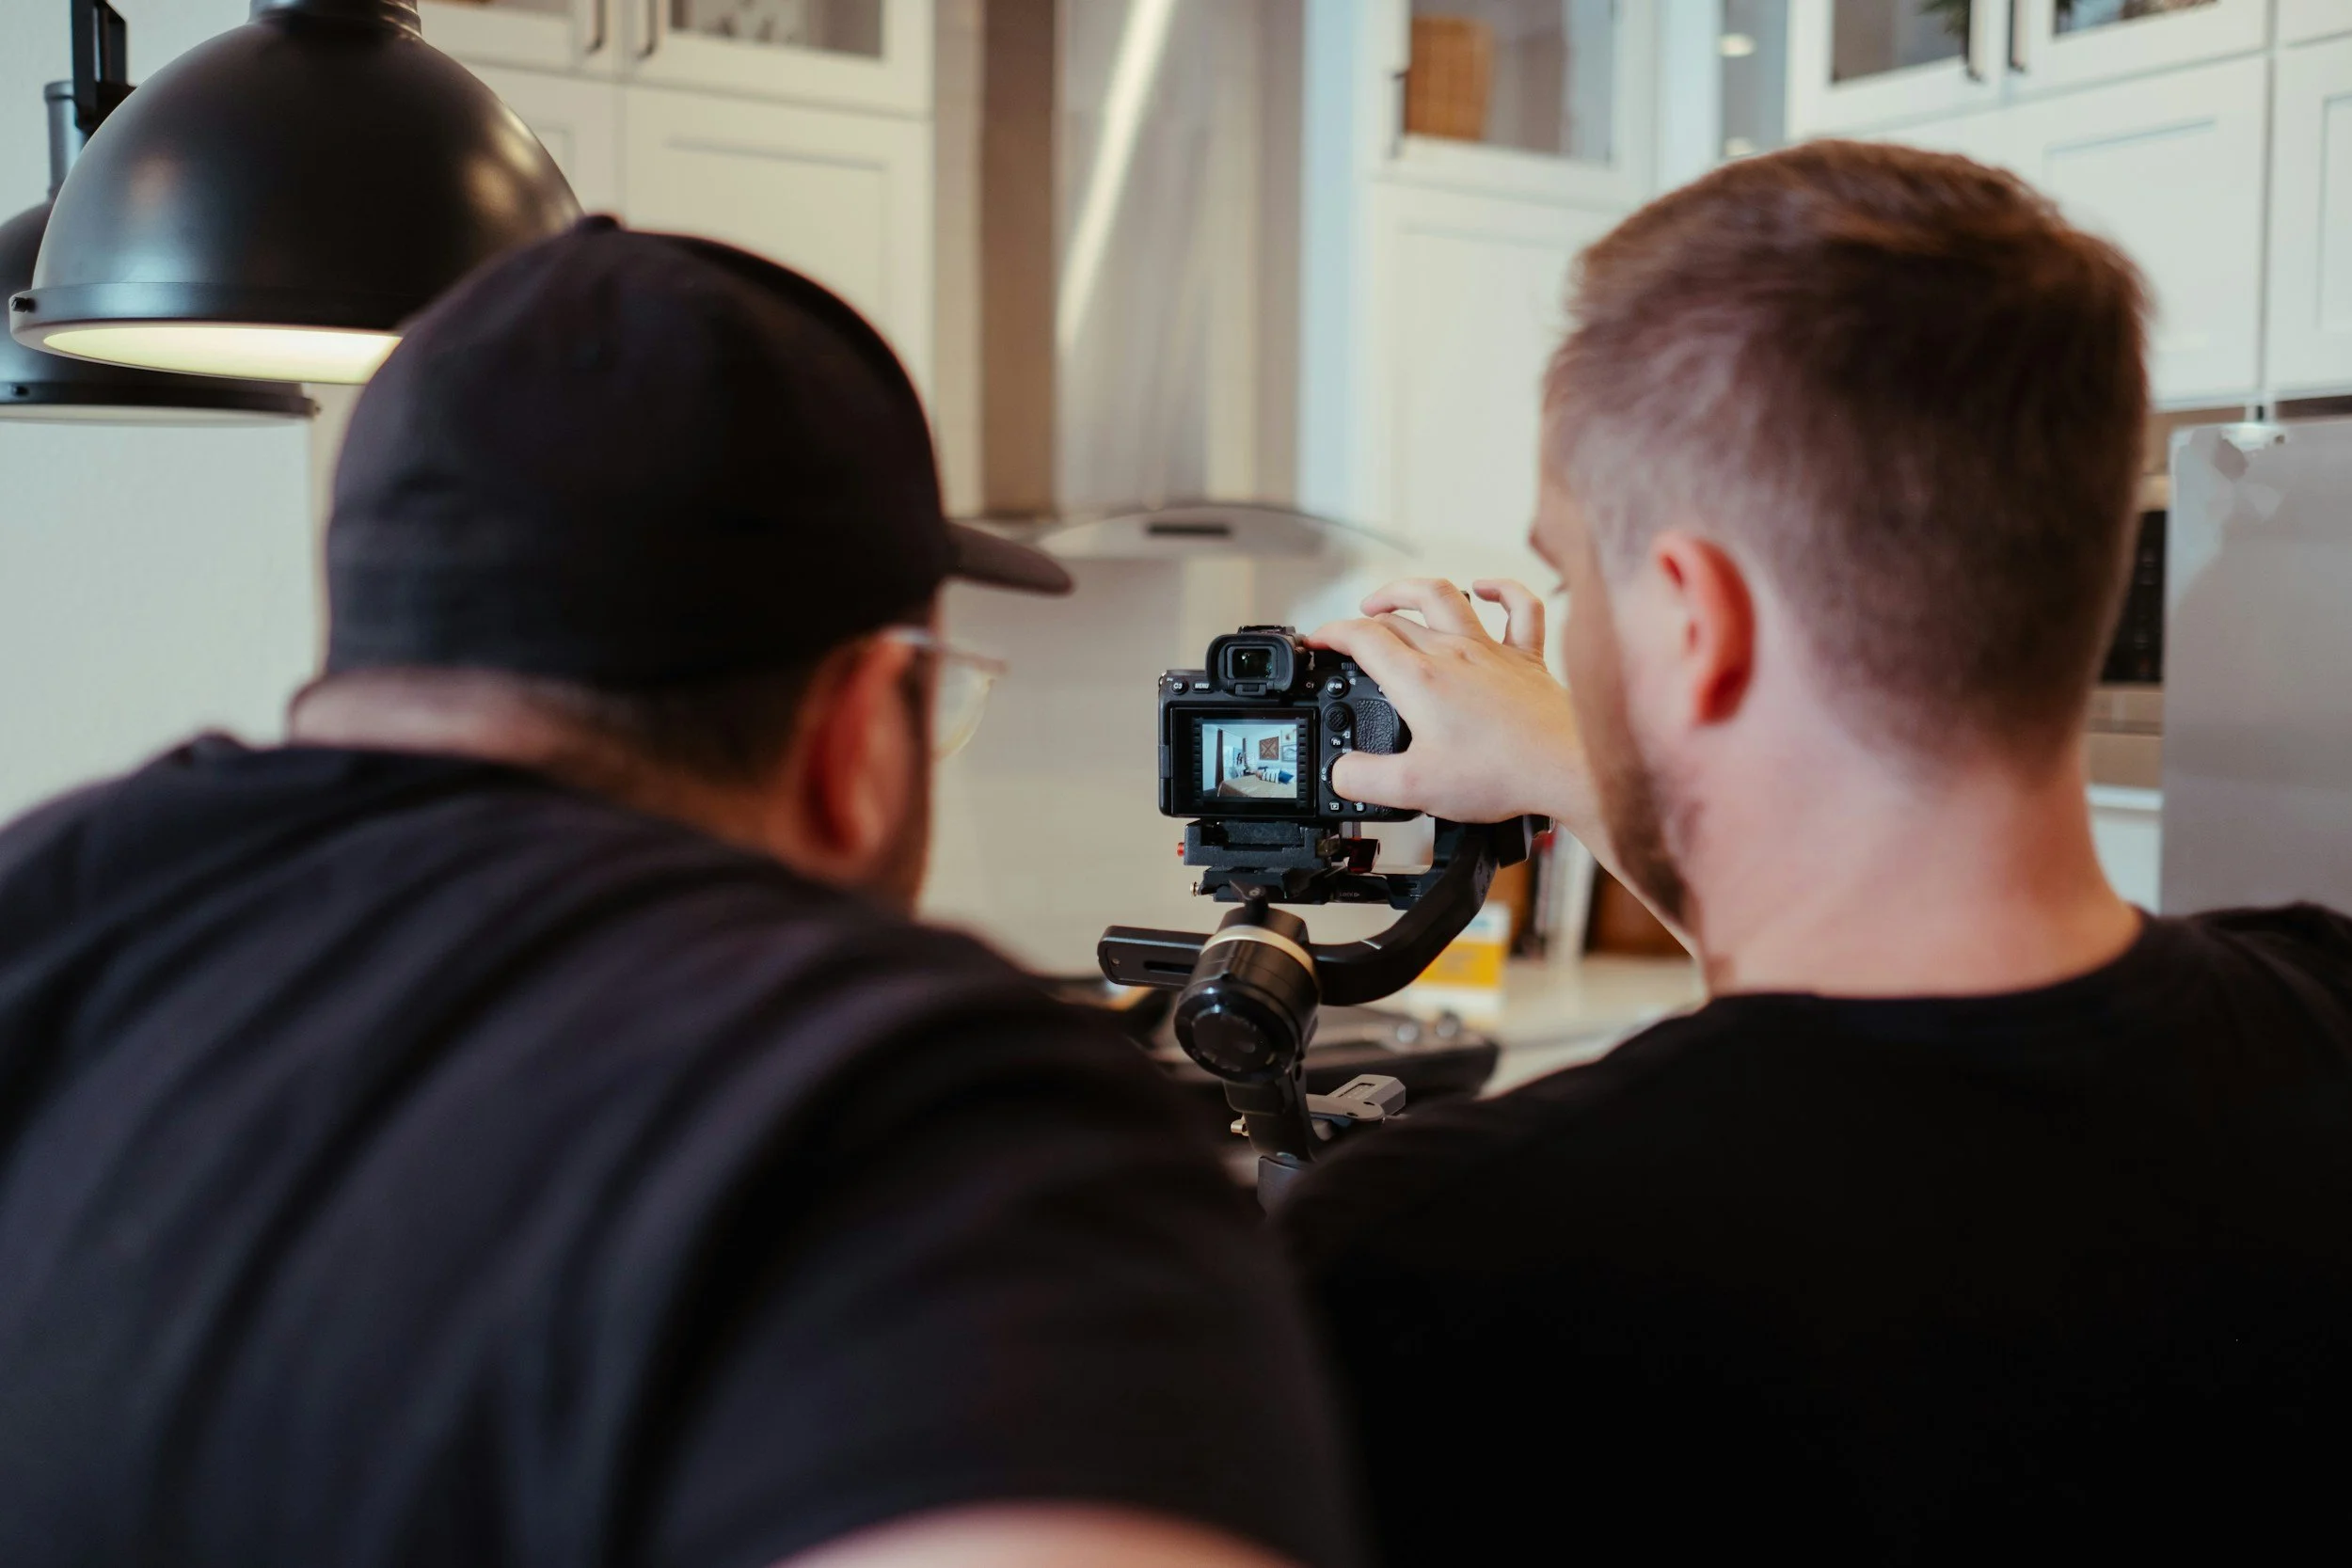
Camera Essentials
Finding a camera that fits your comfort level and project ambition is crucial for effective video marketing. Most creators fare great with mirrorless cameras or DSLRs, as they provide more control and image quality than most smartphones. If you’re a beginner in video production, even a manual phone will suffice, but incorporating basics such as a stabilizer or tripod can significantly enhance your video content production process by reducing jittery video. A fluid head tripod, although expensive, goes a long way for smooth pans and tilts, particularly for heavier rigs. These tripods range in price from $500 to $20,000, so consider your requirements and finances.
Play with your settings, ISO, shutter speed, and white balance, to discover what works best for your lighting. Lens changes can alter your narrative, use wide-angle for spaces or macro for detail work. A camera slider or a handheld camera with a Steadicam adds movement to your shots, making the finished product feel polished and dynamic. By attaching a follow focus device, even a manual one from $100, you gain crisp control when aiming for sharp focus in your professional video production.
Video Sound
Audio is commonly ignored but makes or breaks a video’s ambiance. Internal mics hardly ever do the trick, opt for external microphones, shotgun or lavalier if you want dialogue and environmental noise to be crisp. Take the time to test audio levels before every shoot, so you don’t end up with distortion or miss the recording altogether. Basic soundproofing, such as foam panels or heavy blankets, can keep out unwanted noise.
If your camera’s sound recording isn’t trustworthy, accompany it with an external audio recorder as a backup. Syncing in post takes time, but it pays off in clarity. Spare batteries for your equipment means you don’t lose any crucial shots.
Video Lighting
Natural light provides a warm, appealing tone, but it moves throughout the day and can be difficult to control. LED lights, while more expensive, beginning around $300, provide dependable, adaptable options for the majority of configurations. A fundamental kit spans key, rim and background light to prevent hard shadows. Reflectors, even homemade ones, help bounce light where you need it.
Experiment with setups until you find what works. Sometimes one key light, diffuser or strategically placed LED can simulate daylight or atmosphere. Be on the lookout for glare and shadows so your visuals remain crisp and professional.
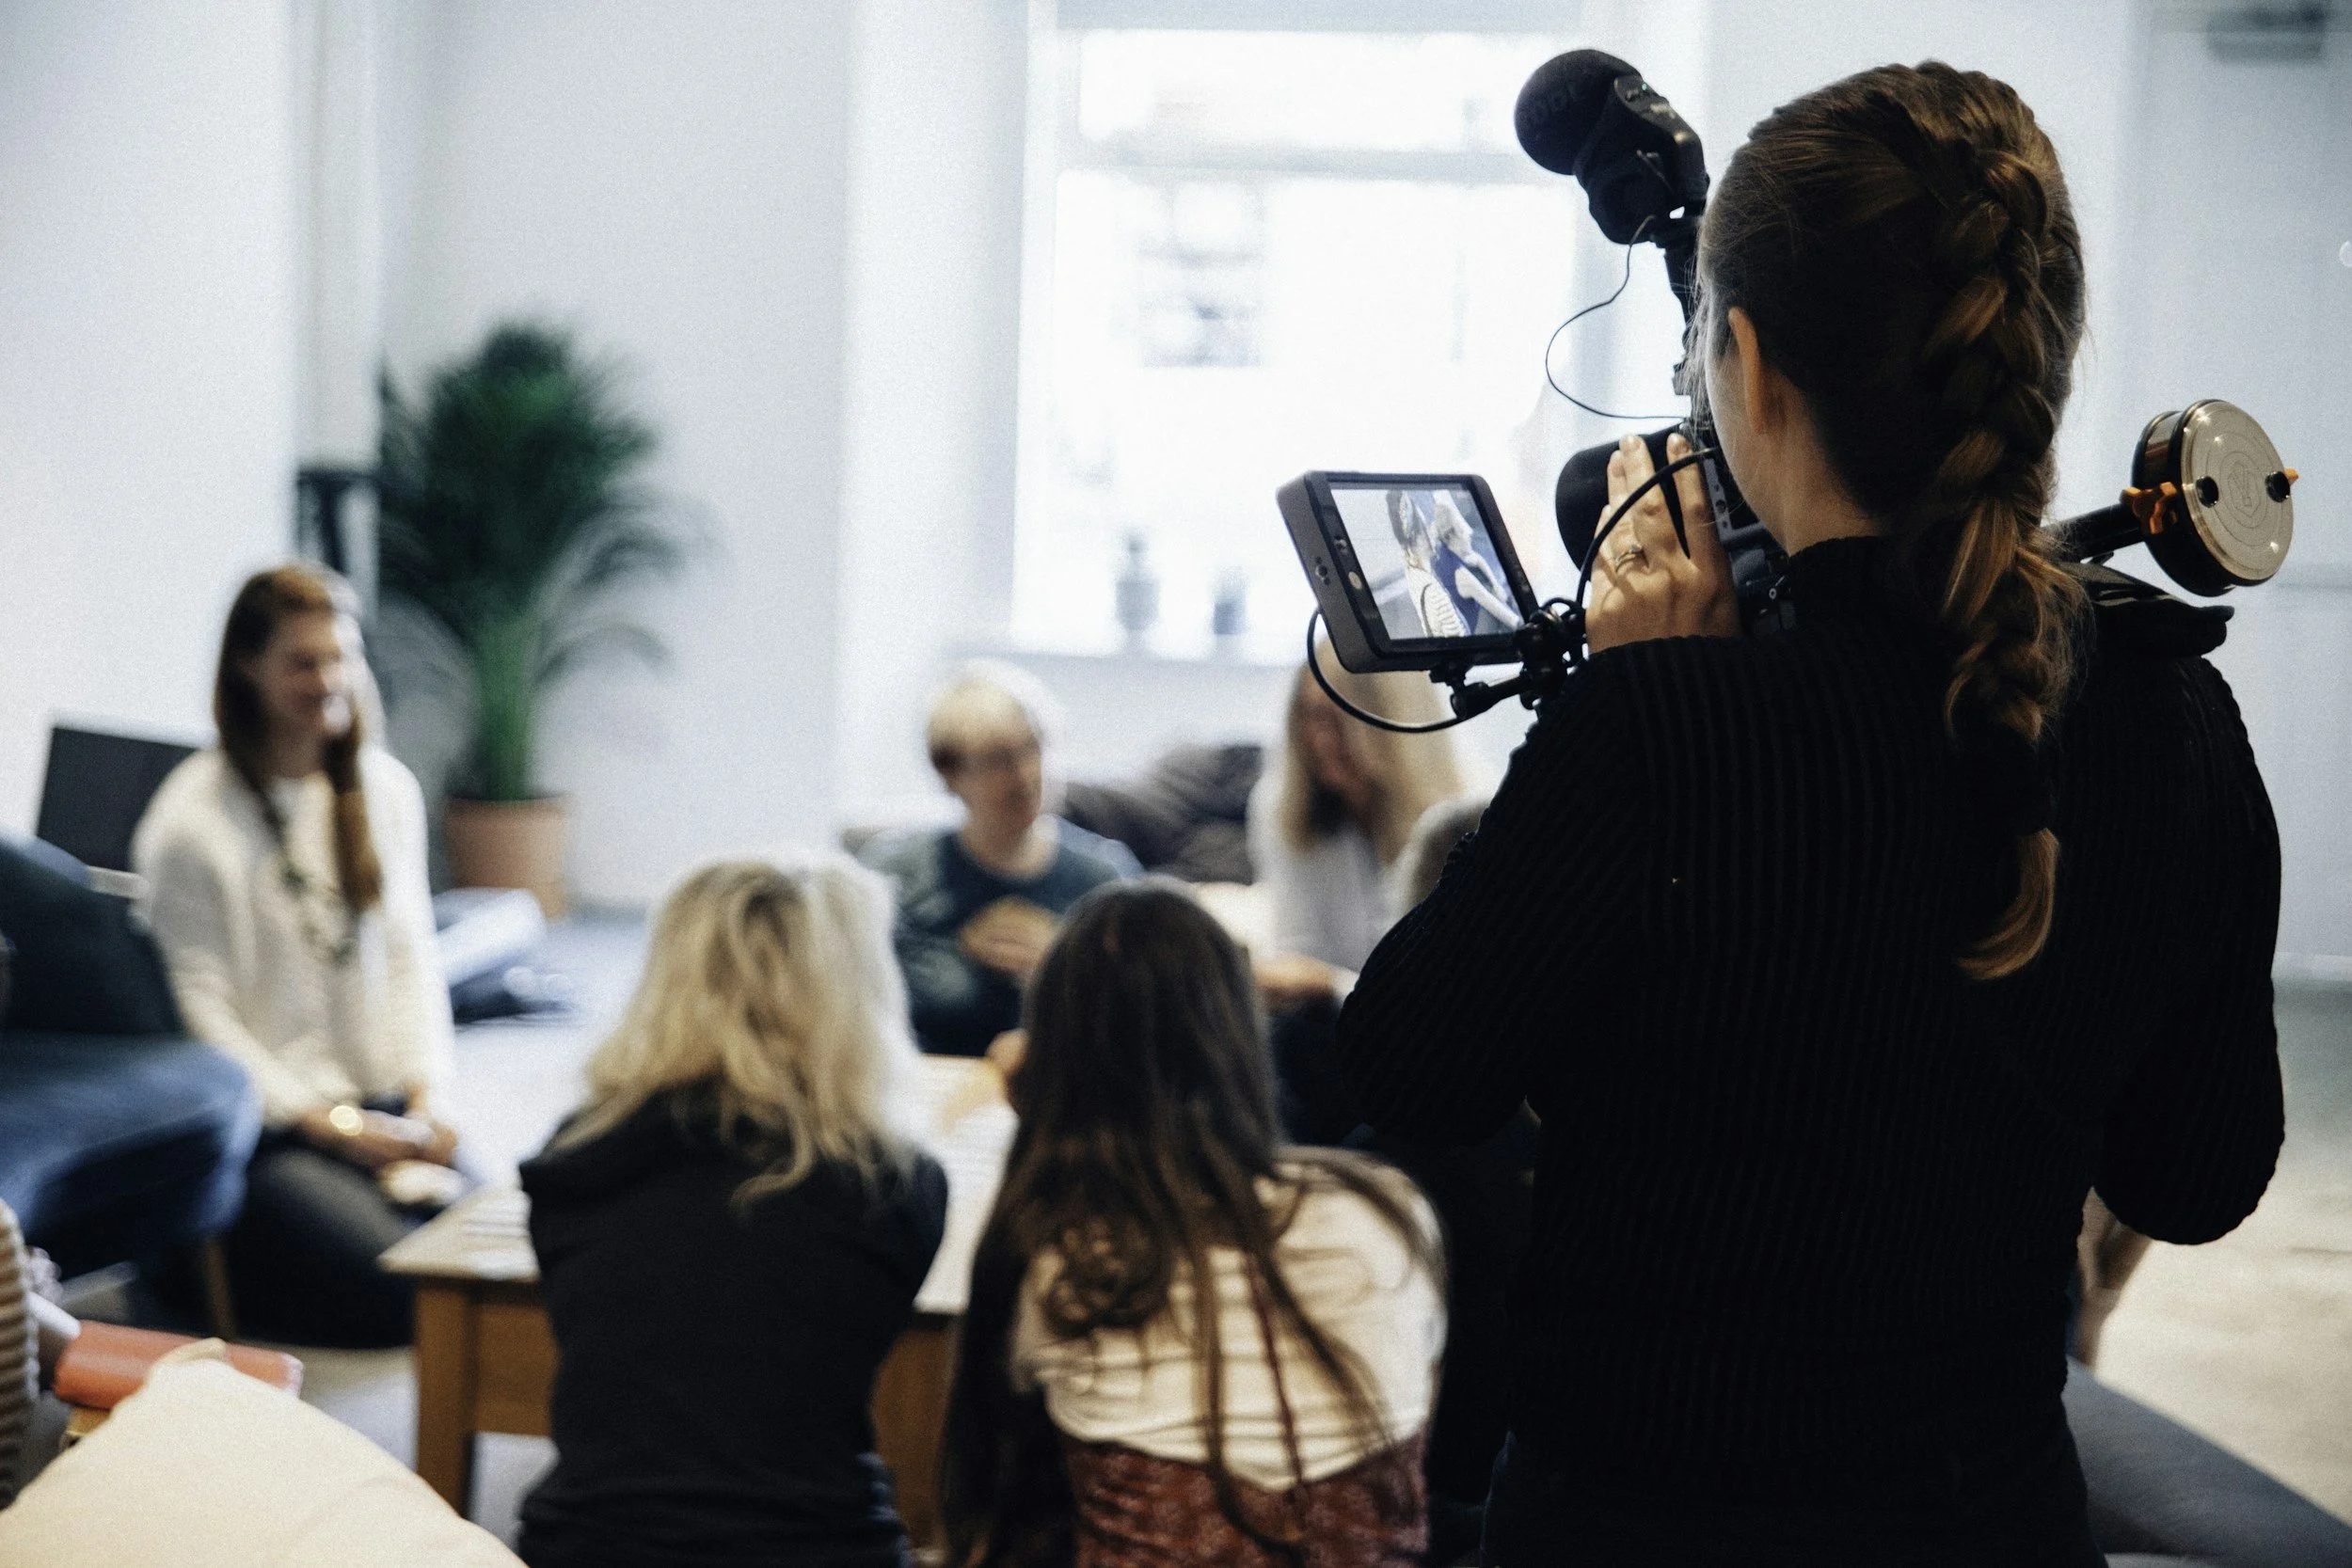
Production Day Plan
A hard-nosed production day plan is essential for effective video content production, preventing a DIY video project from falling apart. This plan acts like a map, guiding you from the first shot to the last, ensuring the finished video comes out crisp and professional. It typically begins with a printed storyboard and shot list. Create a production day checklist to nail each essential task pre-shoot, lock down talent, test equipment, prepare assets, and collect hi-res logos/artwork. Designate distinct responsibilities so everyone is in the loop, even when the scheduler’s out of frame. Glance back over your setup to catch any missing items or needed changes, keeping you ahead of last-minute stress and setting an easy pace for the shoot.
The Shot List
Organizing a shot list for every scene, angle, and action required is one of the essential video production tips to keep your professional video production team on track and minimize wasted time. By putting your key shots up front, you ensure that you don’t miss anything crucial if you run short on time. Review the list with your team to ensure they all have a clear understanding of what needs to happen and when. A flexible shot list allows you to capture those unexpected creative moments, if something is working better in the moment, you can adjust your video content production process accordingly.
The Setup
Set your filming location to maintain a neat or aesthetically pleasing background, which is crucial for quality video content. Before shooting begins, test all your equipment, cameras, lights, microphones, to avoid technical difficulties that could cost you precious minutes! Discuss with your professional video production team the arrangement to ensure everyone is aligned and prepared. This preparation ties the look of the video, regardless of location or resources, together.
The Performance
Guide your genius with straightforward directions to achieve the appropriate mood and vigor for your video content production. The practice runs get everyone comfortable with the script and flow, essential for professional video production. Time and pace yourself as you record, so viewers are captivated. Shoot multiple takes of every scene, providing you with choices in editing and minimizing the need for reshoots. Review footage during the day to identify and correct errors immediately, instead of waiting.
Post-Production Strategy
Post-production is the third and most transformative step in the video creation journey, after pre-production and production. This step turns raw footage into a finished, professional video, making sure that every element fits the targeted goals and campaign objectives. Quality post-production optimizes for sharing across various platforms, which makes even a quick shoot worthwhile.
Review Footage
Timeline: 1–2 days
Responsibility: Creator/EditorSelect Best Clips
Timeline: 1 day
Responsibility: Creator/EditorOrganize Raw Footage
Timeline: 0.5 day
Responsibility: Creator/Assistant
Thoughtful scheduling helps keep these stages on track and provides clear responsibilities for each phase. Collaborating with a professional editor can enhance your videos, allowing you to concentrate on artistic vision while they take care of the technical aspects.
The Editing Workflow
Professional editing software, like Adobe Premiere Pro or DaVinci Resolve, is key for a polished appearance. These provide knocking tools for cutting, splicing, adding effects, key to getting footage to flow and telling a story. Consistent editing style counts as well, it assists your viewers in identifying your brand and brings cohesion to the video.
Transitions and effects are best used sparingly. Basic fades or slides are more than enough to aid scene blur without detracting from the point. Every edit is stronger for undergoing rounds of feedback. Proofing and polishing proves, particularly with feedback from others, catch problems and hone the final edit.
The Sound Design
Dialogue
Purpose: Communicate message
Example: On-camera interviewsBackground Music
Purpose: Set mood, fill gaps
Example: Royalty-free tracksAmbient Sound
Purpose: Add realism and atmosphere
Example: City noise, natureSound Effects
Purpose: Emphasize action and transitions
Example: Clicks, swooshes
Mixing the levels is crucial for clarity in professional video production. Dialogue should always stand out, with background music and sounds supporting the narrative, not competing. royUtilizing alty-free music libraries is a smart choice to avoid copyright issues, while testing sound elements in the video editing process helps identify clashes before the final export.
The Color Grade
Color grading provides your footage a uniform visual aesthetic and helps establish an atmosphere. Tinkering with brightness, contrast and saturation can make clips from different cameras or times of day meld together. This process lets you shape the emotional tone: cool blue tones for calm, warm hues for energy.
Experimenting with different grading styles can help discover which suits your content best. Even subtle color variations can indicate a theme or message change, making your video feel more deliberate. This step, albeit slow, is essential for a professional finish.
When DIY Is Not Enough
Sometimes no matter how much planning you put into the work, you just can’t go it alone with video projects. Knowing when to call in a professional video production team like Peakbound Studio is the key, particularly when projects get more complex or stakes get higher. Even with online how-tos, not everything is DIY-able to professional standards without a certain combination of skill, tools, and experience in video content production.
Knowing when it’s time to bring in a professional video crew begins with evaluating the objectives and footprint of your endeavor. If you see issues like unbalanced audio, flat visuals or awkward transitions, those are obvious indicators your DIY approach is falling short. This is particularly important in the case of 360-degree videos, where stitching or camera placement errors can shatter immersion. Even if these are well intentioned, these flaws distract your viewers and dilute your message. If your video is for a business launch or brand campaign or big presentation, the dangers of a bad first impression generally trump the cost saving of DIY.
Determining how complex your project is crucial. A few projects, such as easy vlogs or short social clips, lend themselves to basic setups. If your video requires high-end editing, sound mixing, or interactivity, then you should know that these aspects take more than basic video production skills. Take, for instance, editing 360-degree footage, which requires not only a powerful computer with lots of memory and storage but also mastery of specialized video editing software. The learning curve is steep, and even small mistakes, like poorly stitched scenes or awkward text, make the final product seem amateurish.
Taking stock of your assets and capabilities is required prior to launching. Do you have the proper camera, lighting, editing tools, computer hardware? Good video gear and software are expensive and plenty discover that even if you have the tools, using them well is a separate challenge. DIY may be ok if you’ve done it before and have the time to learn, but if you’re lacking key skills or equipment, the results might not suit your needs.
Thinking about the long-term advantages of collaborating with experts like Peakbound Studio is all part of the calculus. We have the expertise, imagination, and craftsmanship to elevate your project to a new level. Our work can attract viewers more effectively, reinforce your message, and help you avoid amateur-hour hazards. For work that counts, like marketing, teaching, or client pitches, investing in quality video content can yield significant returns in trust, brand equity, and outcomes.
Final Remarks
Can’t plan to lift any DIY video. Easy actions add up. Defined scripts, intelligent equipment and a well-defined schedule give videos a crisp appearance. Good sound, close shots and good light beat cool cameras every time. Editing puts the cap on. Sometimes, big projects need a pro touch, and that’s where Peakbound Studio comes in. Most of the time, a cautious strategy yields a keen, polished outcome. They notice the attention, not just the hardware. Wish your next video was pro looking? Begin with a plan, select your tools thoughtfully, and maintain tidy edits. Post your work and advice. Continue learning, think curious!
Frequently Asked Questions
1. Can DIY Videos Look Professional With Good Planning?
Yep, can DIY video setups still look professional with the right planning and a focused video production process? What matters is your planning, clear goals, scripts, and production steps.
2. What Is The Most Important Step Before Filming A DIY Video?
Pre-production is key in the video content production process. Map out your script, shots, and equipment beforehand to ensure quality videos and reduce errors.
3. Do I Need Expensive Equipment For Professional DIY Videos?
No, you don’t need costly equipment for professional video production. Lots of inexpensive cameras and smartphones make good video, but quality audio and lighting are what counts.
4. How Can I Improve Video Quality On A Budget?
Utilizing natural light, a quiet location, and a stable camera are essential video production tips for creating quality videos with a professional video production team.
5. Why Is Post-Production Important For DIY Videos?
Post production polishes your video, enhancing the quality of your professional video production through editing, music, and color correction.
Ready To Take Your Videos Beyond DIY?
If you’ve reached the point where DIY videos aren’t enough, you don’t have to figure it out alone. At Peakbound Studio, we specialize in creating professional, documentary-style videos that feel authentic while elevating your brand. From concept to final cut, our team takes care of the details so you can focus on running your business instead of worrying about lighting setups, editing timelines, or awkward reshoots.
Your story deserves more than a quick fix or cookie-cutter approach. With years of experience helping businesses communicate clearly and build trust, we know how to craft videos that connect with the right audience and drive real results. If you’re ready to move beyond DIY and invest in video that truly represents your brand, check out our services today and see how we can bring your vision to life.